 Rangeland Analysis Platform
Processing RAP Data in your GIS
Data in the RAP can be easily imported and analyzed in ArcGIS Pro without downloading big datasets. For instance, users can add vegetation cover and production data to a pre-existing project map as Cloud Optimized GeoTiffs (COGs) using the steps below. If you only need to visualize RAP data, or include RAP data as a basemap in a map layout, consider using RAP web map tiles instead.
ArcGIS Pro version 3.5.2 or higher is required to access RAP data using this method.
URLs:
30m-Cover - https://rangeland.ntsg.umt.edu/data/rap/rap-vegetation-cover/ 10m-Cover - https://rangeland.ntsg.umt.edu/data/rangeland-s2/ Production - https://rangeland.ntsg.umt.edu/data/rap/rap-vegetation-biomass/ Vegetation - https://rangeland.ntsg.umt.edu/data/rap/rap-vegetation-npp/
Connect to GeoTiffs:
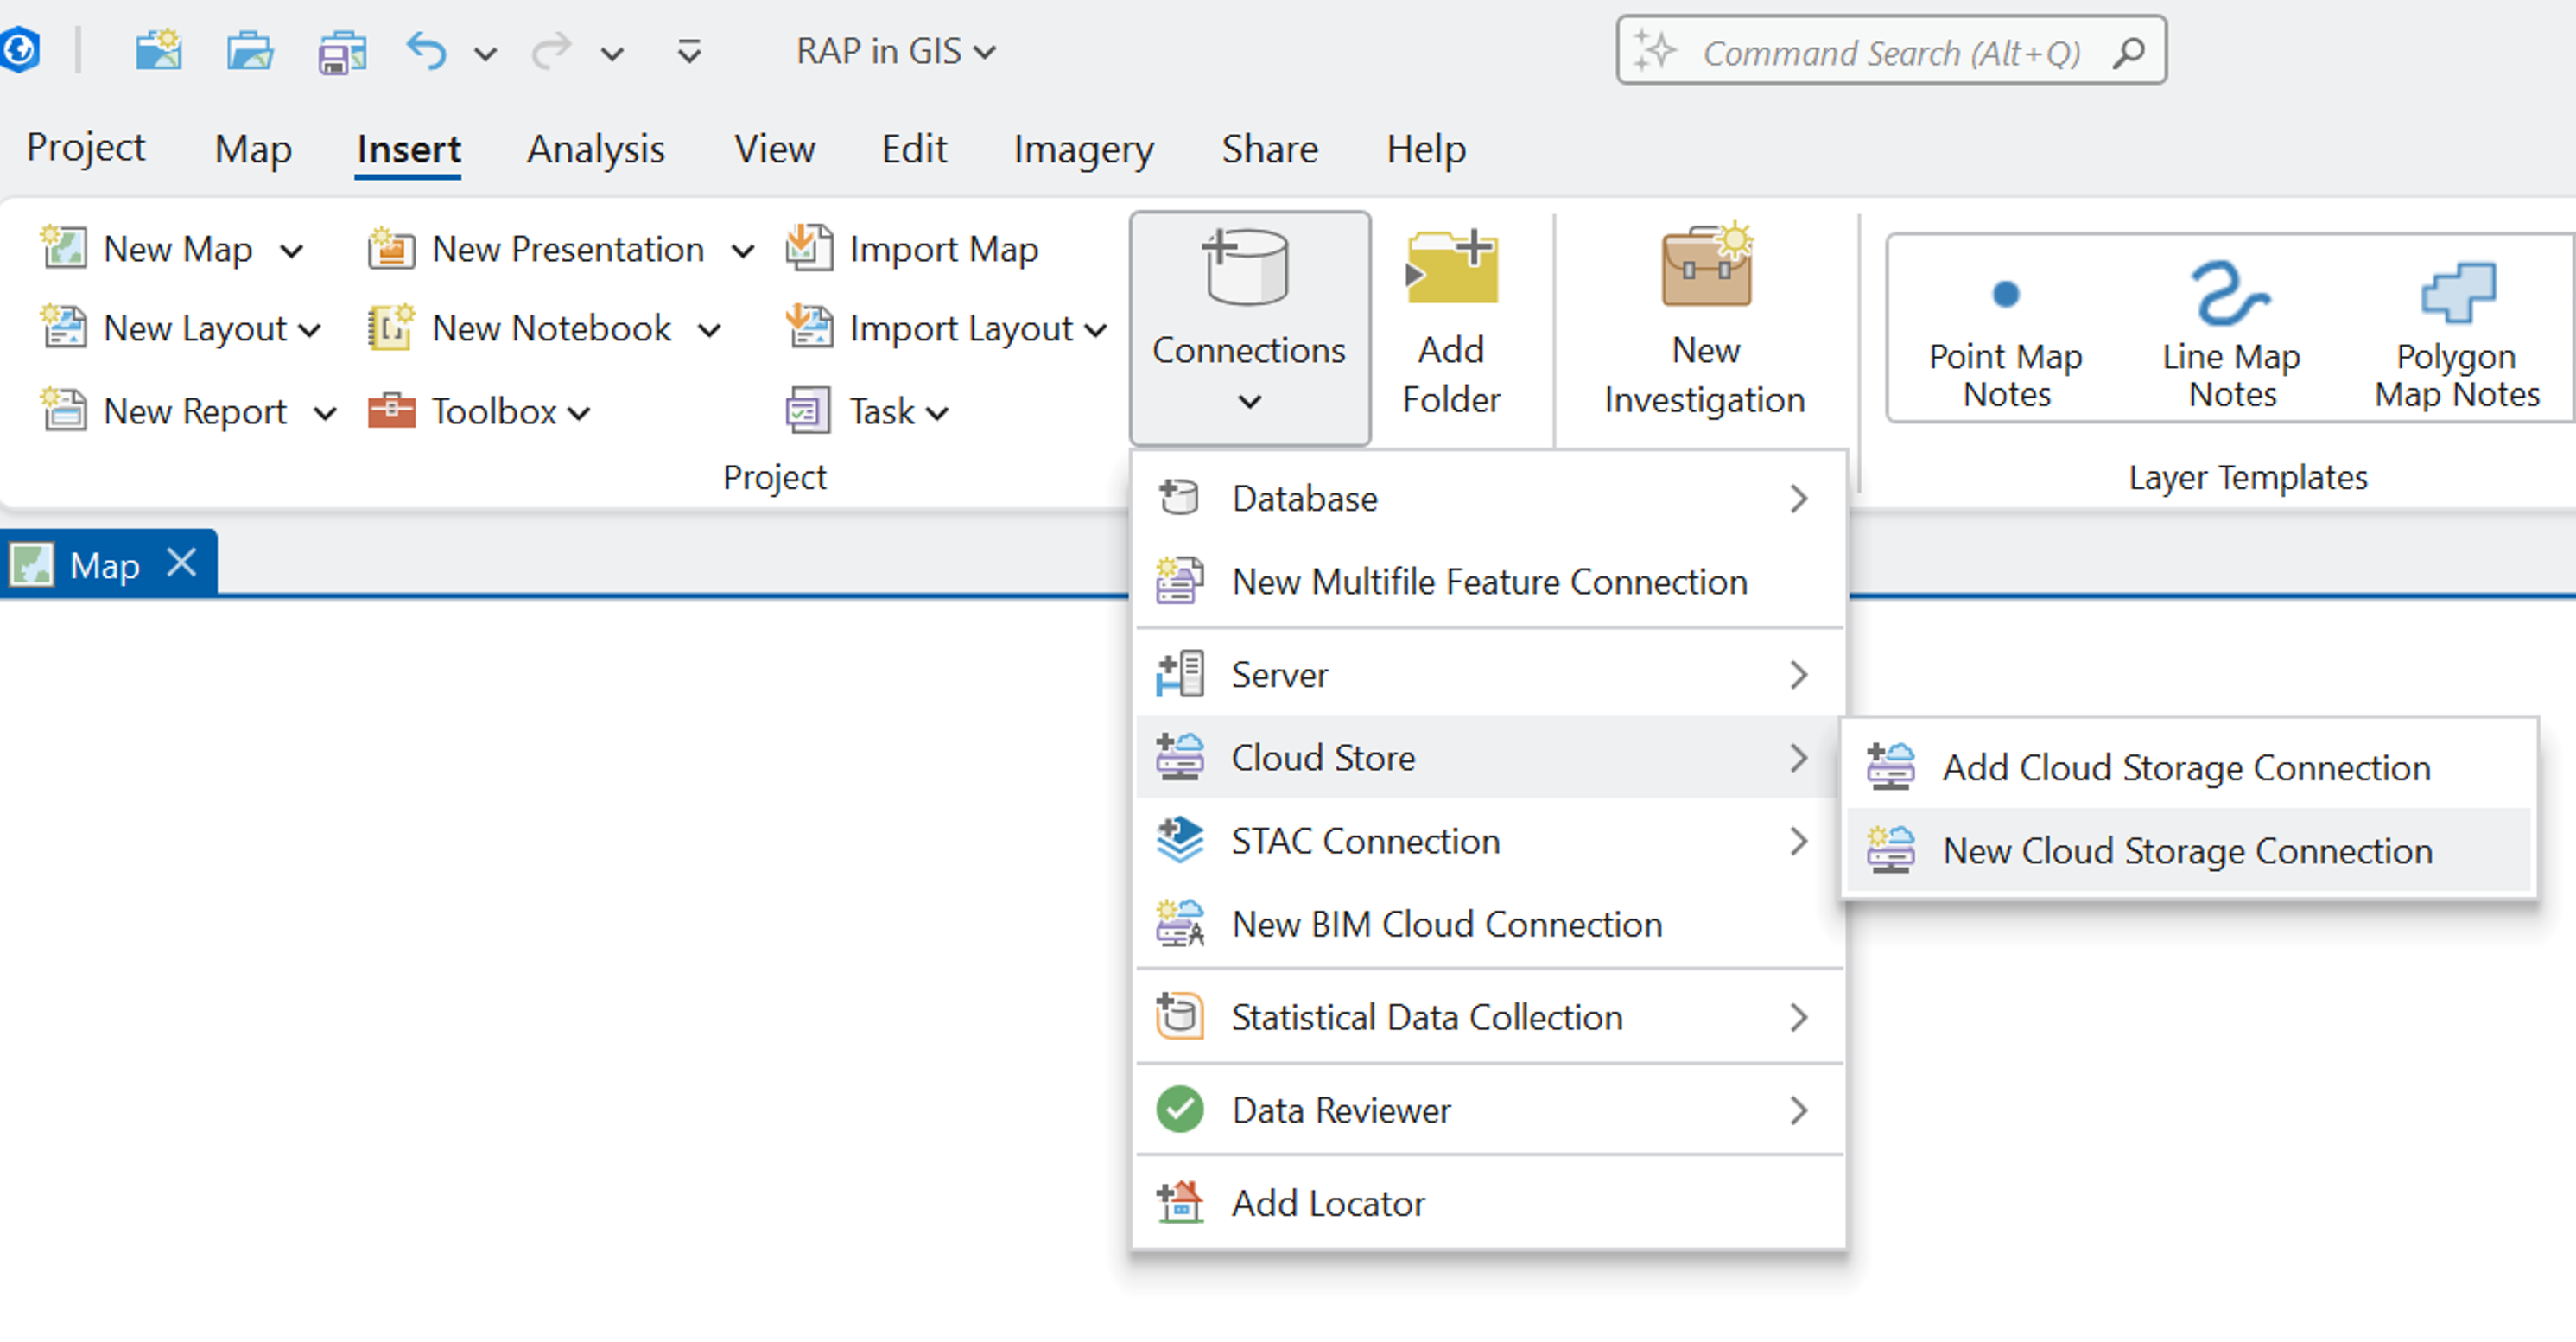
1. In ArcGIS Pro, click the Insert tab to open the Insert tool ribbon. Under Connections, select Cloud Store and then “New Cloud Storage Connection”.
Give the new connection a name in the Connection File Name box. Select “Web” from the Service Provider Menu. Type in the URL (listed above) for the desired dataset in the Service Endpoint box. Provider Options do not need to be changed.

2. Click “OK”.
To add the data to the map:
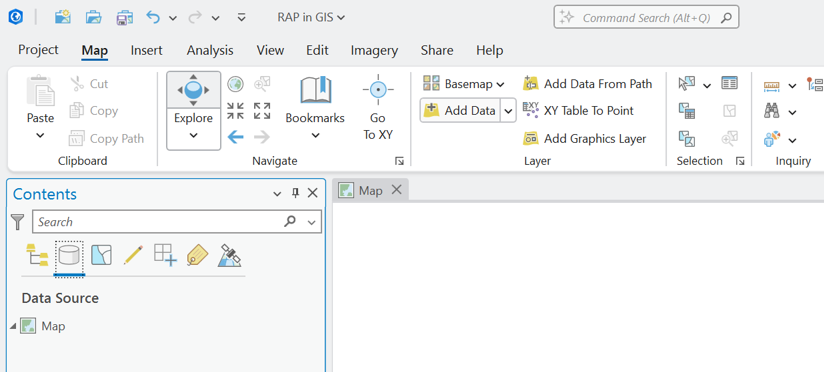
1. From the Map tool ribbon, click Add Data to open the Add Data dialog box.
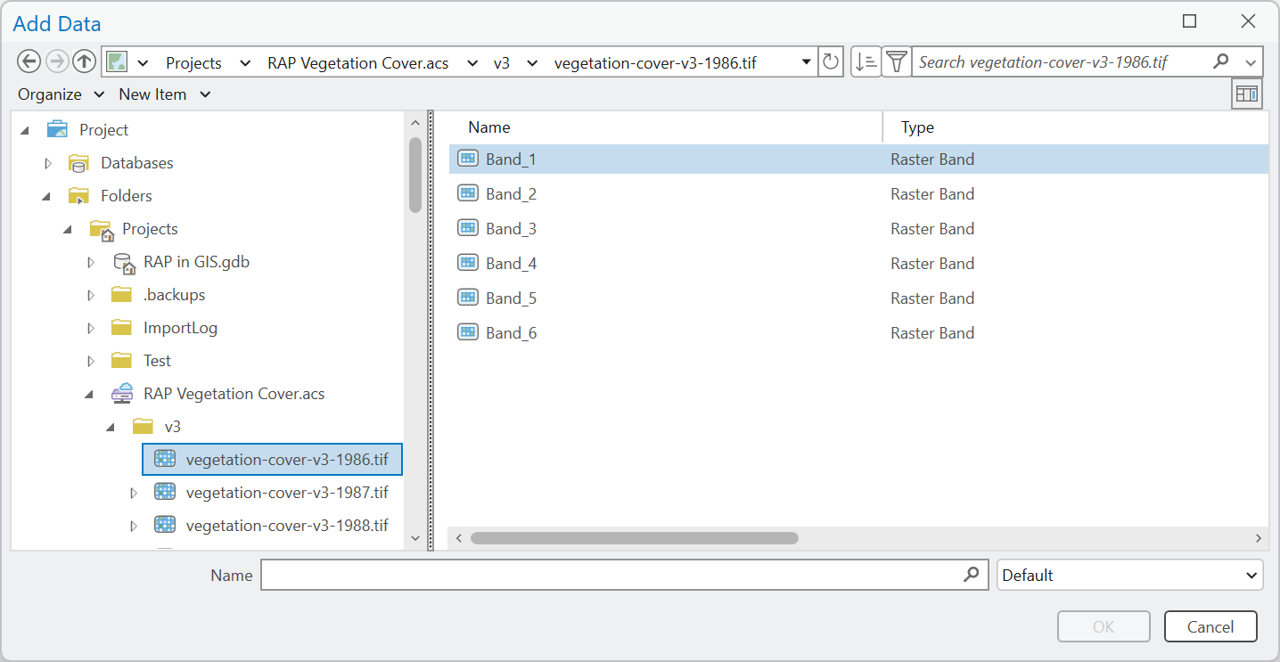
2. Under Project > Folders > Projects, find the connection you just created. Select the GeoTiff and band you wish to load (e.g. "vegetation-cover-v3-1986.tif" and "Band_1"). Click “OK”.
3. GeoTiffs can be added from the Catalog pane in a similar fashion.